
When we think about computer performance, we often focus on high-profile components like CPUs, GPUs, or RAM. However, hidden beneath the surface is a vital yet often underestimated part—the motherboard capacitor.
These tiny components are essential for ensuring stable power delivery, minimizing electrical noise, and maintaining the health and performance of your computer.
In this comprehensive guide, we’ll explore what motherboard capacitors are, the different types available, why they matter, how to recognize signs of failure, and how to maintain or replace them. Whether you’re a PC builder, technician, or curious enthusiast, this article will provide you with everything you need to know.
What is a Motherboard Capacitor?
A capacitor is a passive two-terminal electronic component that stores electrical energy in an electric field. On a motherboard, capacitors are used primarily for power conditioning, voltage regulation, and signal filtering.
The Role of Capacitors on the Motherboard
- Smooth Voltage Delivery: Ensures that processors and other sensitive components receive a steady voltage.
- Filter Noise: Reduces electromagnetic interference (EMI) and electrical noise, improving signal quality.
- Protect Components: Prevents damage from power fluctuations and spikes by absorbing and releasing energy as needed.
- Maintain Stability: Keeps the system stable under load, especially during tasks like gaming, rendering, or multitasking.
Capacitors are especially important in VRMs (Voltage Regulator Modules), which are responsible for delivering clean power to the CPU and GPU.
Types of Motherboard Capacitors
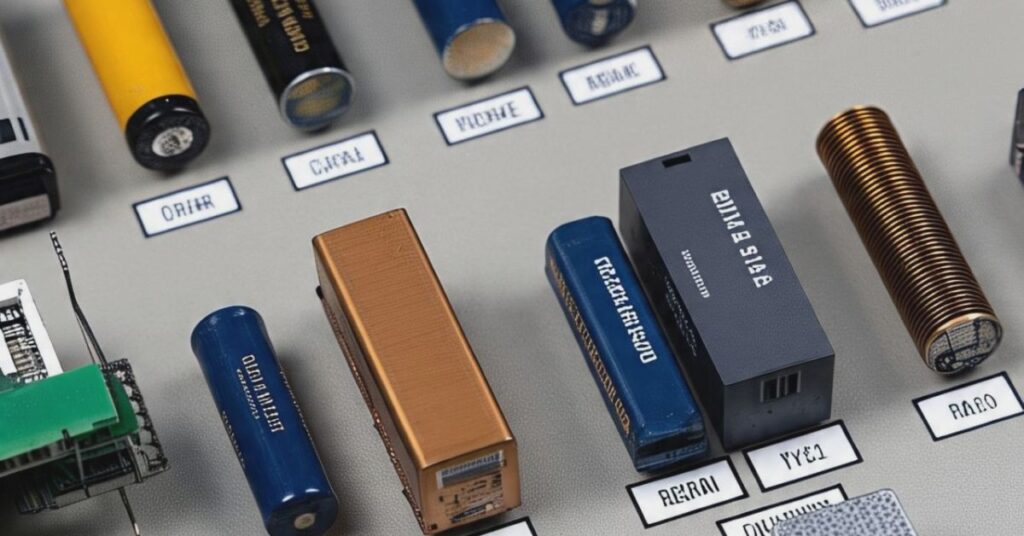
There are several different types of capacitors used in motherboard design. Each has its own characteristics, advantages, and ideal applications.
Electrolytic Capacitors
- Use a liquid or gel-like electrolyte.
- Common in older or lower-end motherboards.
- Prone to leaking or bulging over time.
- Lifespan is shorter compared to solid capacitors.
- Often used in bulk capacitance areas.
Solid-State Capacitors (Polymer Capacitors)
- Use a solid electrolyte.
- Found in modern, gaming, and premium motherboards.
- Superior heat resistance and durability.
- Longer lifespan and better performance under stress.
- Highly reliable for VRM circuits.
Tantalum Capacitors
- Small and reliable.
- More expensive and less common in consumer boards.
- Often used in compact or military-grade designs.
Ceramic Capacitors
- Small surface-mounted devices (SMD).
- Used for decoupling and filtering.
- Stable and non-polarized, ideal for high-frequency applications.
Where Are Capacitors Located on the Motherboard?
Capacitors are spread throughout the motherboard, especially in areas that deal with high power demands. Common locations include:
- Around the CPU socket (VRM section)
- Near RAM slots
- Beside the chipset and southbridge
- Close to PCIe slots
- Near SATA and power connectors
If you look closely, you’ll see clusters of capacitors grouped near these high-demand components to ensure power stability and efficiency.
Common Causes of Capacitor Failure
Capacitors are durable but not invincible. Over time, several factors can contribute to their degradation or outright failure:
- Overheating: Constant high temperatures can dry out or degrade the electrolyte.
- Electrical Overload: Voltage spikes or power surges can damage the dielectric layer.
- Manufacturing Defects: Poor-quality capacitors may fail prematurely (e.g., the infamous capacitor plague of the 2000s).
- Dust and Dirt Accumulation: Poor ventilation and maintenance can reduce heat dissipation.
- Aging: Capacitors naturally degrade over time and lose their capacity to hold a charge.
Symptoms of Failing or Bad Motherboard Capacitors
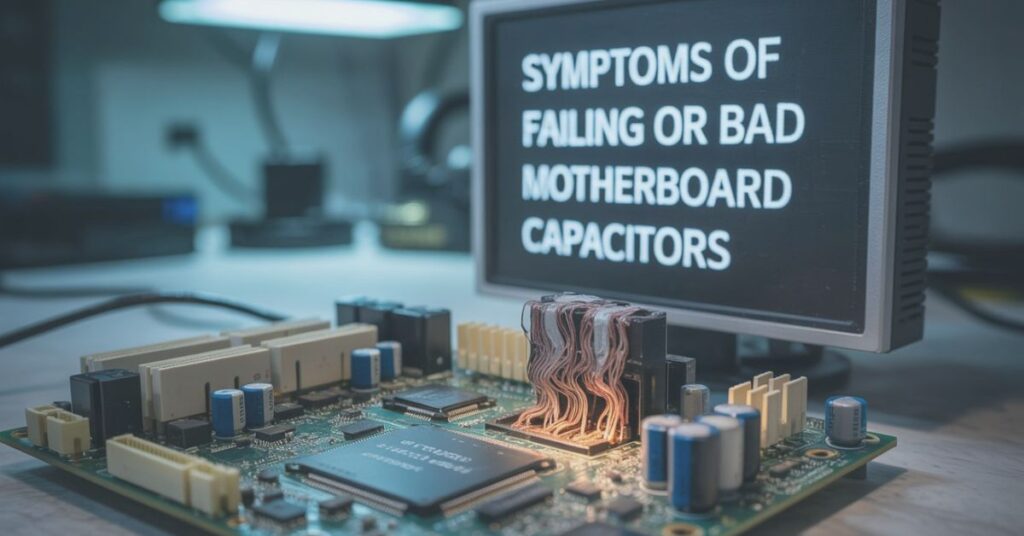
If your PC is acting up, bad capacitors might be the culprit. Look for these symptoms:
Visual Clues
- Bulging Tops: A swollen or dome-shaped top.
- Leaking Electrolyte: Brown, crusty, or wet residue near the base.
- Corrosion: Rust or greenish tint on terminals.
Performance Issues
- Random system restarts or shutdowns.
- Failure to power on or POST (Power-On Self Test).
- Blue screen errors or kernel panics.
- USB, GPU, or RAM not being recognized intermittently.
- BIOS settings resetting frequently.
Diagnosing and Testing Motherboard Capacitors
Before replacing a capacitor, it’s crucial to diagnose the issue correctly:
- Visual Inspection: Look for physical signs like bulging or leaking.
- Multimeter Test: Use a digital multimeter to test capacitance and ESR (Equivalent Series Resistance).
- Capacitance Meter: A more advanced and accurate tool for testing.
- Thermal Imaging Camera: Some technicians use these to spot hot or failing components.
If you’re unsure, consult a certified repair technician or motherboard specialist.
Replacing a Motherboard Capacitor: A Step-by-Step Guide
Replacing a capacitor can restore functionality to an otherwise dead board. Here’s a basic guide:
Tools Needed
- Soldering iron with a fine tip
- Solder sucker or desoldering braid
- Lead-free solder
- Replacement capacitor (same value and voltage)
- Isopropyl alcohol and brush for cleaning
Steps
- Power off and unplug the motherboard.
- Locate the damaged capacitor.
- Use a soldering iron to heat the solder joints and remove the bad capacitor.
- Clean the area with alcohol.
- Insert the new capacitor, observing polarity (+/-).
- Solder the new component in place.
- Inspect and test the board.
Preventing Capacitor Damage
Prolong the life of your capacitors—and your motherboard—by following these best practices:
- Use a surge protector or UPS to prevent power fluctuations.
- Ensure proper airflow inside the case with intake/exhaust fans.
- Clean your PC regularly to prevent dust buildup.
- Avoid overclocking without adequate cooling solutions.
- Use a reliable PSU from a reputable brand.
Motherboard Manufacturers and Capacitor Quality
Top motherboard brands like ASUS, MSI, Gigabyte, and ASRock often emphasize the use of high-quality Japanese capacitors and military-grade components. These capacitors are rated for long life (up to 10,000 hours or more) and better temperature tolerance, making them ideal for gaming, professional workloads, and overclocking.
Always check technical specifications or datasheets when selecting a motherboard—especially if you’re building a system that will be under heavy load.
FAQs
How long do motherboard capacitors last?
High-quality solid capacitors can last over 10 years, while electrolytic capacitors typically last 3–5 years under regular use.
Can a motherboard work with one bad capacitor?
It may work temporarily, but you risk system instability or permanent damage. It’s best to replace the faulty capacitor.
Are Japanese capacitors better?
Yes, Japanese capacitors are known for superior quality, heat resistance, and longer lifespan compared to generic ones.
Is it worth repairing a motherboard with bad capacitors?
It depends on the motherboard’s value. For high-end or rare models, it’s often worth the repair; for low-cost boards, replacement might be more practical.
Also Read:
AAFP Motherboard Connector: Everything You Need to Know (2025 Guide)
Good AM4 Motherboard: The Ultimate Buyer’s Guide (2025 Edition)