In the world of PC building, tiny details often make a massive difference. While CPUs, GPUs, and RAM dominate headlines, there’s one often-overlooked component that plays a critical role in both system safety and stability: motherboard screws.
You might not give them much thought—until one goes missing, doesn’t fit, or worse, damages your board. Whether you’re building your first gaming PC or managing a professional workstation setup, knowing everything about motherboard screws can save you time, stress, and money.
This in-depth guide explores the different types of motherboard screws, how to install them correctly, the importance of standoffs, and solutions if you’re missing screws. Let’s dig into this essential (yet underrated) topic.
Motherboard screws are the small screws used to secure a motherboard to the PC case. They work in conjunction with standoffs—metal risers that elevate the motherboard slightly above the case surface to prevent shorts and allow for proper cable management and airflow.
Without these screws:
- The motherboard could flex or move during operation
- The I/O ports may not align with the rear I/O shield
- Electrical shorts may occur if the board touches the metal case
In short, these screws are crucial for mechanical support and electrical safety.

Contrary to popular belief, not all motherboard screws are the same. The most commonly used size is the M3 screw, but there are other variations to be aware of.
| Screw Type | Thread Size | Length | Use |
|---|---|---|---|
| M3 | 3mm | 5mm | Mounting motherboards |
| 6-32 | 3.5mm | 5-6mm | PSU, HDDs, sometimes motherboards in older cases |
| Standoff | M3 or 6-32 | ~6-8mm | Elevate motherboard from case |
- Pan head or round head
- Phillips drive (cross-head)
- Flat or slightly rounded top
- Typically zinc-coated steel or brass
- Some screws have black oxide coating for aesthetics
Before screws can even do their job, standoffs need to be installed. These are threaded spacers that screw into the case and align with the motherboard’s mounting holes.
- Prevent the back of the motherboard from touching the metal case (avoiding electrical shorts)
- Provide a stable base for attaching screws
- Maintain airflow and cooling underneath the board

It depends on the form factor of the motherboard:
| Form Factor | Standoff Count |
|---|---|
| ATX | 9 |
| Micro-ATX | 6–7 |
| Mini-ITX | 4 |
| E-ATX | 10+ |
- Phillips #1 screwdriver (preferably magnetized)
- Motherboard screws (usually provided with case)
- Properly grounded surface or anti-static mat
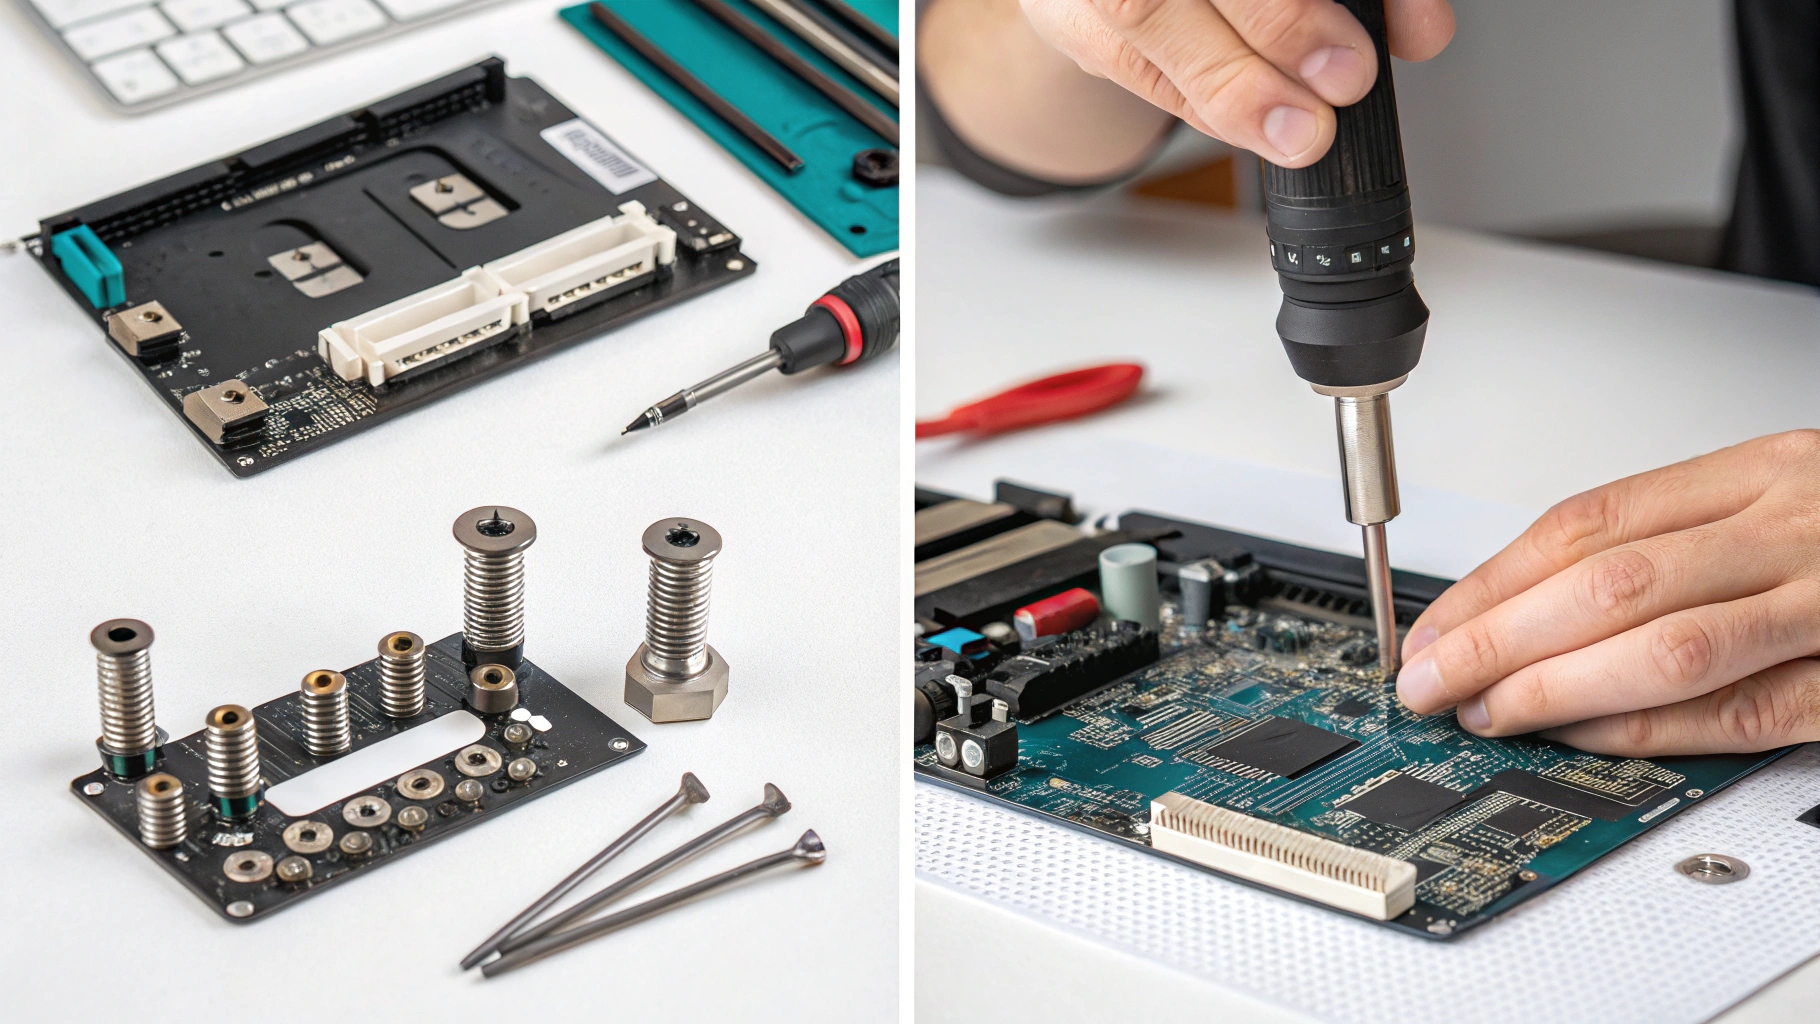
- Install the I/O shield into the rear of the case (if it’s not pre-attached to the motherboard).
- Position the motherboard carefully over the standoffs inside the case.
- Align the screw holes of the motherboard with the standoffs below.
- Insert screws into each mounting hole—start at the corners, then fill in the rest.
- Tighten with light pressure, just until snug. Don’t over-tighten as it can damage the PCB.
Tip: Use a cross pattern when tightening screws to evenly distribute pressure and avoid board flex.
While your motherboard may have up to 9 holes for screws, using at least 6 (including corners and center points) is generally enough for stability.
Using all available holes is ideal to:
- Prevent sag or flex
- Ensure even contact with the case
- Improve grounding
Using the wrong screws—or skipping them entirely—can lead to:
- Electrical shorts if the board touches the metal case
- Unstable motherboard mounting
- Misaligned I/O ports or PCIe slots
- Cracked PCB from over-tightened or oversized screws
Always match your screws to the standoffs, and never force a screw that doesn’t fit.
It’s common for people to misplace screws during a build or forget where they came from. If you’ve lost yours:
- Motherboard Screw Kits on Amazon – Usually include 100+ pieces (screws, standoffs, washers).
- eBay & AliExpress – Offer bulk packs and OEM replacements.
- Local computer repair shops – They often have spares.
- PC case manufacturers – Can sometimes send replacements on request.
- “M3 motherboard screw set”
- “PC case screws and standoffs”
- “Computer screw assortment kit”
No—in most cases, motherboard screws are included with the PC case, not the motherboard itself.
Why? Because every case layout and material differs, so screw requirements are standardized with the chassis, not the board.
- Use a magnetic screwdriver: Prevents screws from falling into tight spots.
- Label screws: Keep them sorted during disassembly for easy reassembly.
- Avoid overtightening: You only need to make it snug—not crank it down.
- Build on a non-conductive surface: Like the motherboard box or anti-static mat.
Some older or non-standard cases use 6-32 screws, but most modern motherboards require M3 screws. Always check your case specs.
If you’re running the motherboard outside the case on a test bench, you can skip the screws, but it’s safer to use standoffs or risers to avoid contact with conductive surfaces.
Absolutely. As long as the threads are not stripped and they match the standoffs in your new case, you can reuse them.
Usually not, but nylon washers can help prevent scratches or add insulation in custom builds or high-vibration setups.
Yes. Oversized or incorrect-thread screws can strip mounting holes, crack the PCB, or cause short circuits.
In the grand scheme of PC hardware, motherboard screws might seem minor—but they are essential for structural integrity, electrical safety, and proper system functionality.
Whether you’re installing an ATX motherboard in a full tower case or fitting a Mini-ITX board into a compact build, always use the correct screws and standoffs. Understanding their sizes, types, and importance will ensure a secure and long-lasting build.
So next time you’re putting together your dream PC, give a little more credit to the humble screw—it’s holding your entire system together.
The MEG Trident X2 Motherboard: A Complete Guide for Gamers and Creators (2025)
Best Video Card for ASRock Mini ITX Motherboard: 2025 Buyer’s Guide
How to Check Motherboard on PC: The Complete Step-by-Step Guide (2025)