Building a PC is an exciting journey, but it requires careful attention to even the smallest components. One such component is the motherboard standoff—a tiny, often-overlooked piece of hardware that plays a massive role in the safety and stability of your computer build. This guide will walk you through everything you need to know about motherboard standoffs, from what they are to how to install them properly.
What Are Motherboard Standoffs?
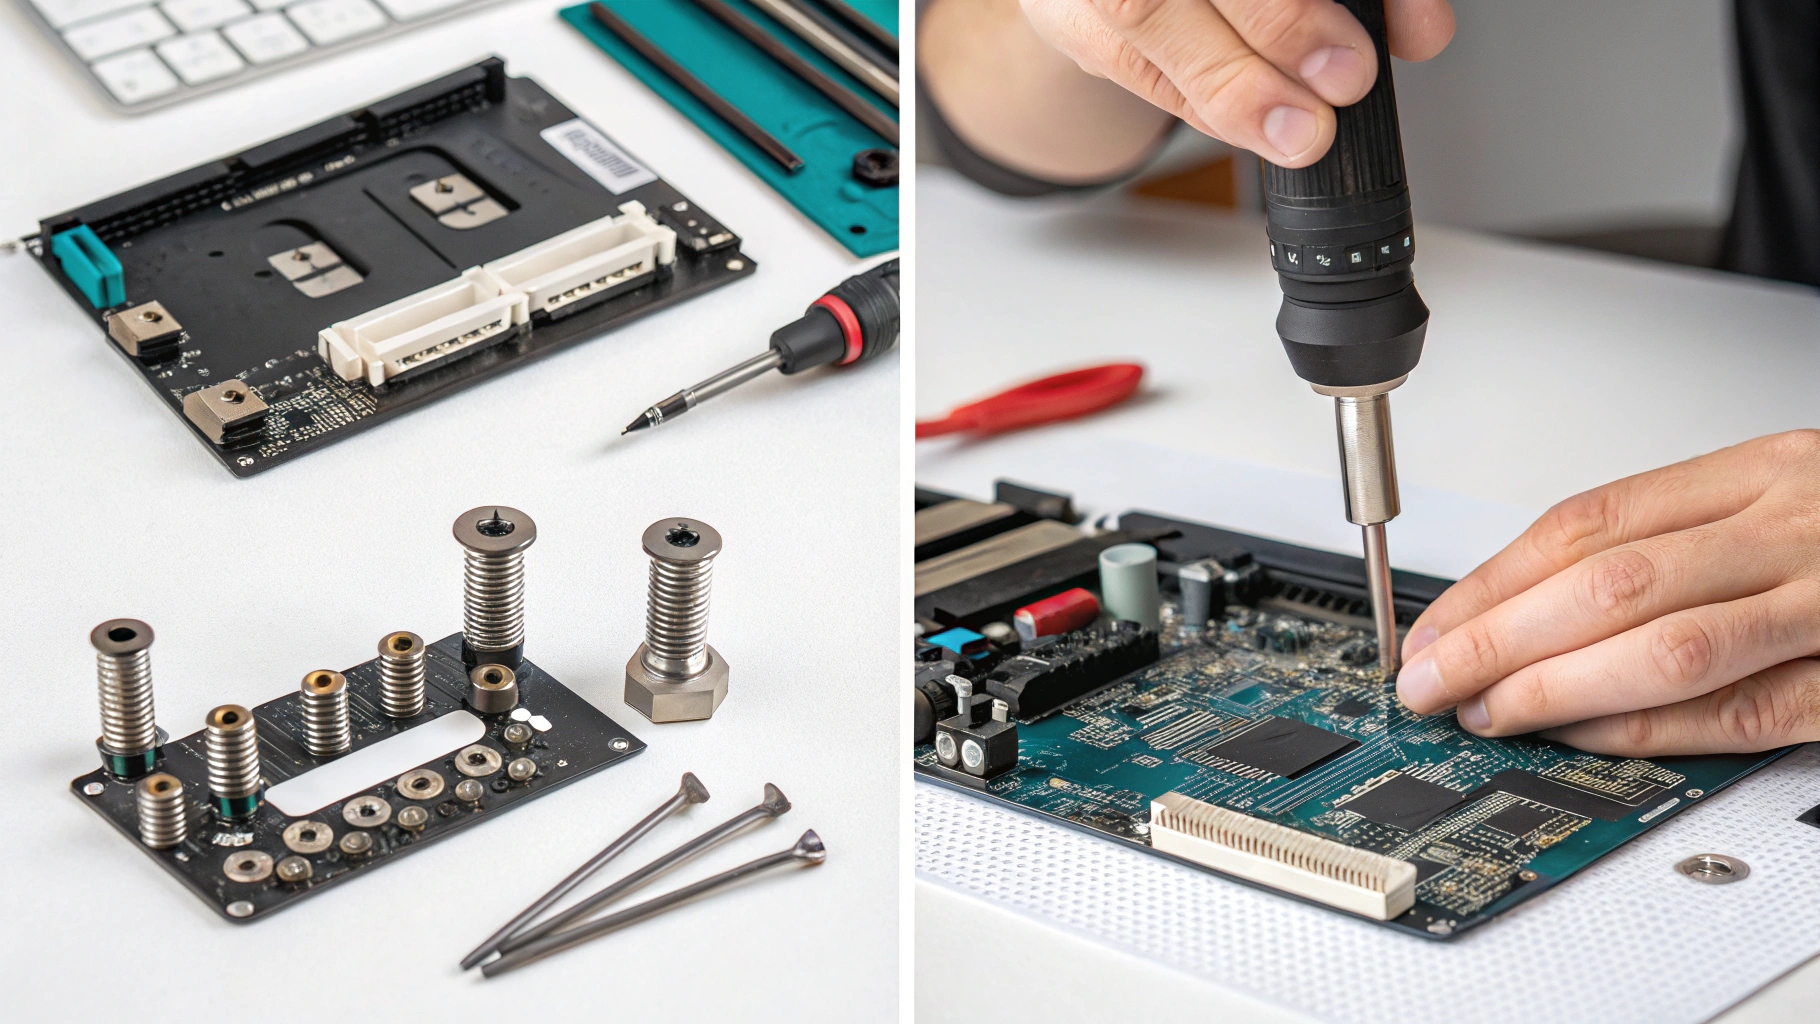
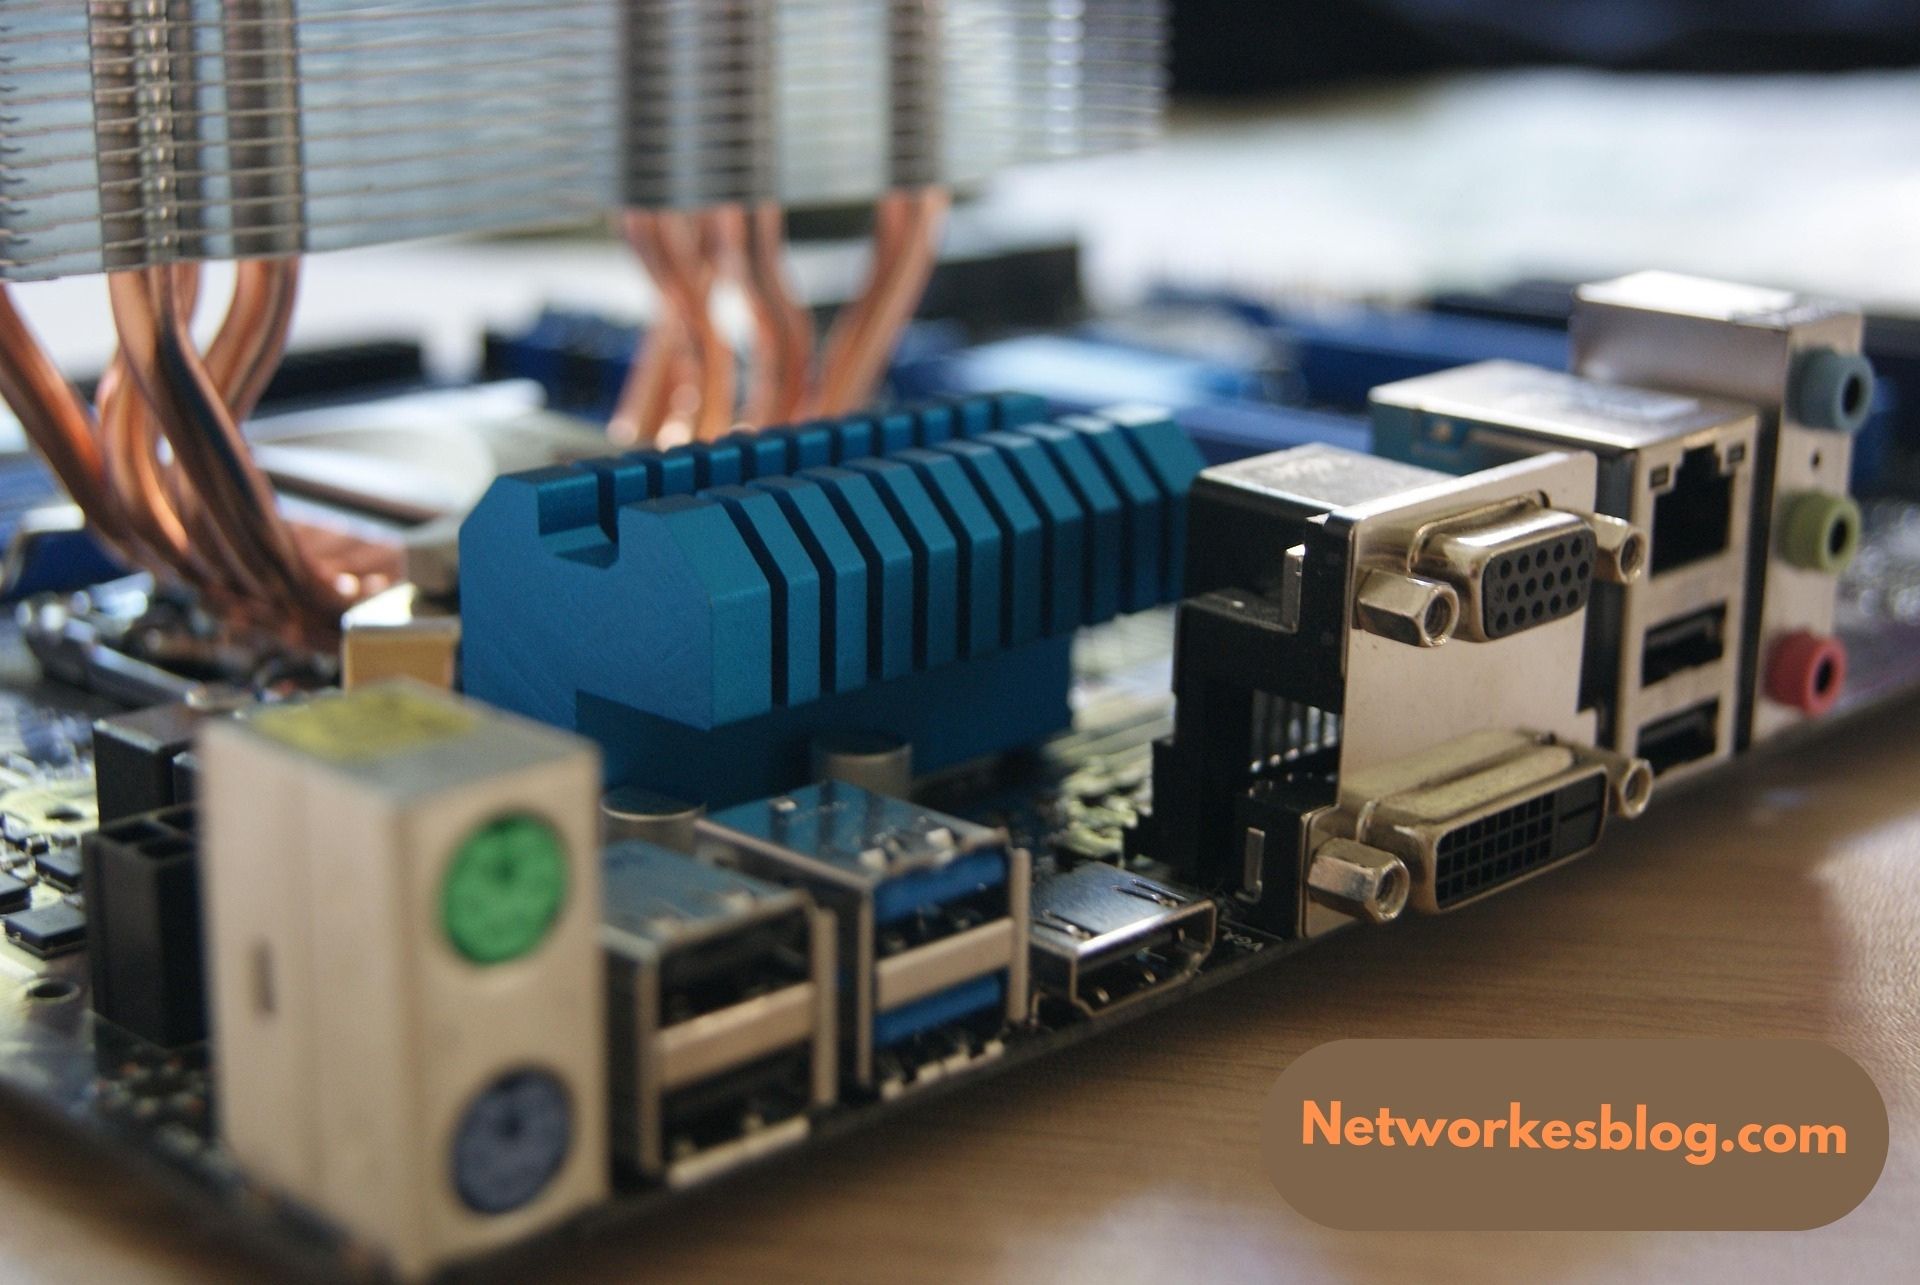
Motherboard standoffs are small threaded spacers, typically made of brass or plastic, that are used to mount your motherboard securely inside your PC case. They are installed between the case and the motherboard, creating a small but critical gap between the two.
That small gap prevents the bottom of the motherboard—where hundreds of solder points and electrical pathways exist—from directly contacting the metal chassis. Without standoffs, this contact could lead to dangerous short circuits, electrical damage, or complete system failure.
Why Are Motherboard Standoffs So Important?
Many first-time builders don’t realize that the motherboard must be electrically isolated from the rest of the case. The metal case is grounded, and the motherboard has delicate electrical circuits exposed on its underside. Direct contact between the two can short out the system and destroy expensive components like CPUs, GPUs, and RAM.
Here’s why standoffs are essential:
Prevent Electrical Short Circuits
Standoffs prevent the bottom of the motherboard from touching the metal case. This avoids accidental grounding or shorting of motherboard circuits.
Ensure Proper Alignment
They help align the motherboard with the I/O shield, PCIe slots, and screw holes, ensuring a clean and stable installation.
Promote Better Airflow
The space between the motherboard and case allows for slightly better heat dissipation and airflow, contributing to overall system cooling.
Provide Mechanical Stability
By anchoring the motherboard in place, standoffs protect it from bending, warping, or being damaged during component installation.
Types of Motherboard Standoffs
Not all standoffs are created equal. Here are the most common types you’ll encounter:
Brass Standoffs
- The most common type.
- Durable, conductive, and corrosion-resistant.
- Ideal for almost all standard PC builds.
Plastic Standoffs
- Non-conductive and typically used in special cases or on non-metal chassis.
- Less durable but effective in low-power, small form-factor builds.
Snap-in or Clip-style Standoffs
- Tool-less, easy to install.
- Usually found in prebuilt systems or budget cases.
Each type is designed to perform the same essential function—raising the motherboard off the case—but choosing the right one depends on your case, motherboard size, and build preferences.
How to Install Motherboard Standoffs (Step-by-Step Guide)
Here’s a detailed guide for installing standoffs during a PC build:
Step 1: Identify the Motherboard Form Factor
Common sizes include ATX, Micro-ATX, and Mini-ITX. Your PC case will support one or more of these, and the standoff locations will vary accordingly.
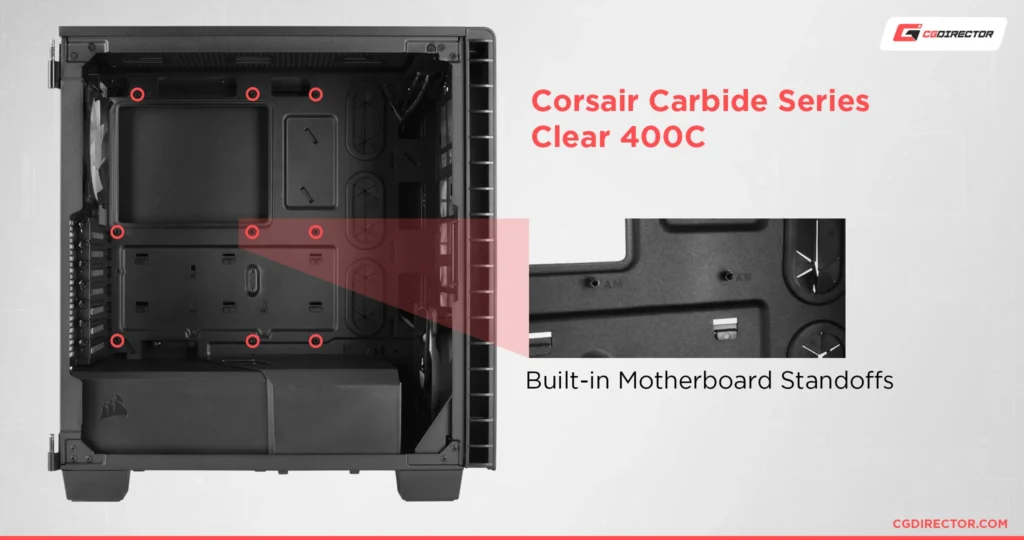
Step 2: Locate the Correct Mounting Points in the Case
Open your case and look for small threaded holes or markings (like “A,” “M,” or “I” for ATX, mATX, or ITX). These show where to place standoffs based on your motherboard size.
Step 3: Install the Standoffs
Screw the standoffs into the appropriate holes. Use a standoff socket tool (usually included with cases) or a small wrench for extra grip, but don’t overtighten.
Important: Only install standoffs where there are matching holes in the motherboard. Extra standoffs can cause electrical shorts.
Step 4: Align and Install the Motherboard
Place the motherboard on top of the standoffs and line it up with the I/O shield and screw holes. Carefully fasten the board down using the screws provided with your case.
Step 5: Double-Check Everything
Before moving on to install other components (CPU, GPU, RAM), ensure that the motherboard is level and secure, with no extra standoffs underneath.
Common Mistakes to Avoid With Standoffs
Many new PC builders make these avoidable errors:
- ❌ Skipping standoffs completely, leading to shorts.
- ❌ Installing too many standoffs, which may press against the motherboard in places without mounting holes.
- ❌ Using the wrong standoff type or length, which can cause the motherboard to flex or sit unevenly.
- ❌ Forgetting to check standoff alignment, resulting in stripped screw holes or poor I/O alignment.
Always follow your case and motherboard manual to ensure proper placement.
FAQ’s
Are motherboard standoffs universal?
Most standoffs use a standard M3 or 6-32 thread size and are compatible with most ATX, Micro-ATX, and ITX motherboards. However, some cases and motherboards may include specific hardware.
Can I reuse standoffs?
Yes, you can reuse them if they’re in good condition. Just ensure the threads are not stripped and that they fit your new case or motherboard.
What if I lost my standoffs?
You can purchase replacement standoffs online or at a computer hardware store. Make sure they match the thread size and height your case requires.
Do all motherboards need standoffs?
Yes, all desktop motherboards require standoffs for proper installation in a metal case. They are not optional.
Conclusion:
In summary, motherboard standoffs are a vital yet often underappreciated component of any PC build. They protect your motherboard from electrical damage, ensure a proper fit within the case, and contribute to your system’s overall stability.
Whether you’re building a gaming PC, workstation, or home server, never skip the standoff step. It could mean the difference between a smooth build and a costly repair.
Also Read:
Power Button on the ASRock X870E Nova Motherboard: Full Guide for Builders and Enthusiasts